How to build an earthbag round house.
|
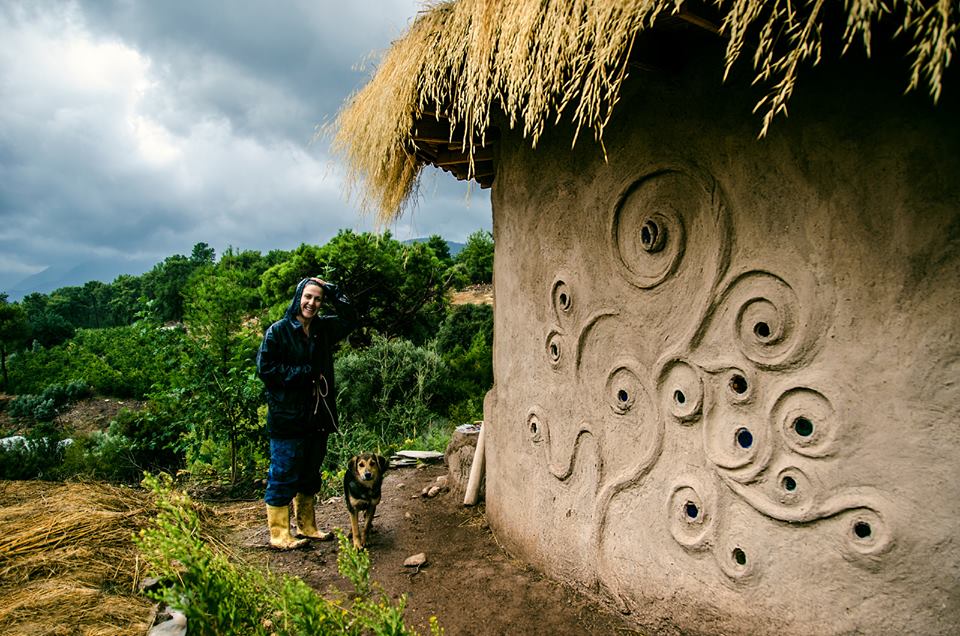
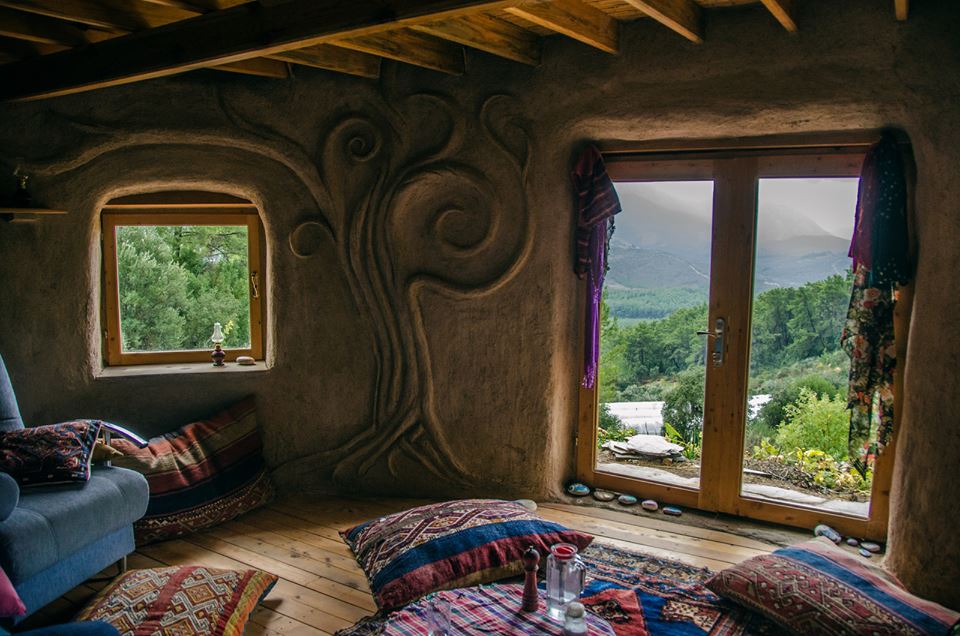
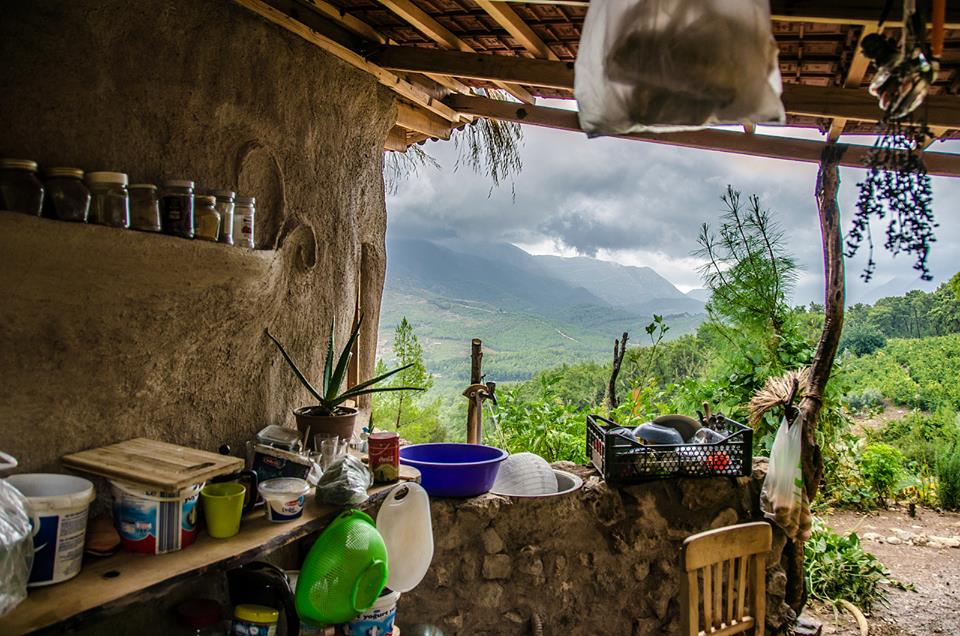
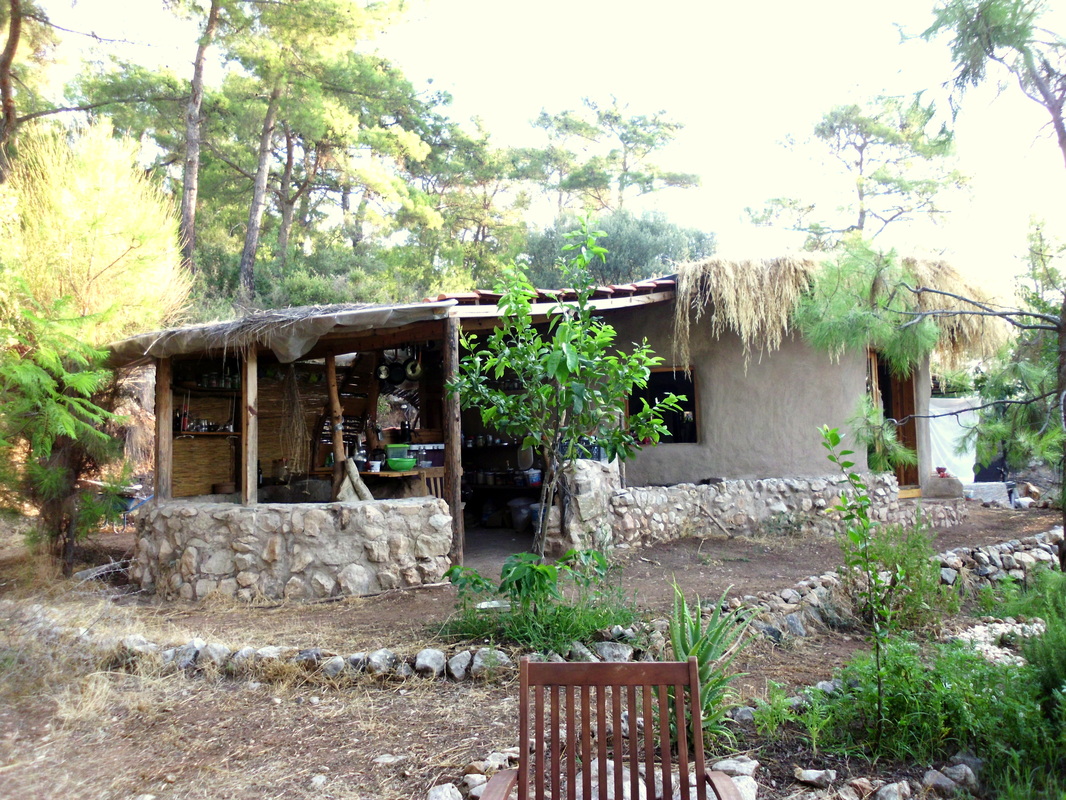
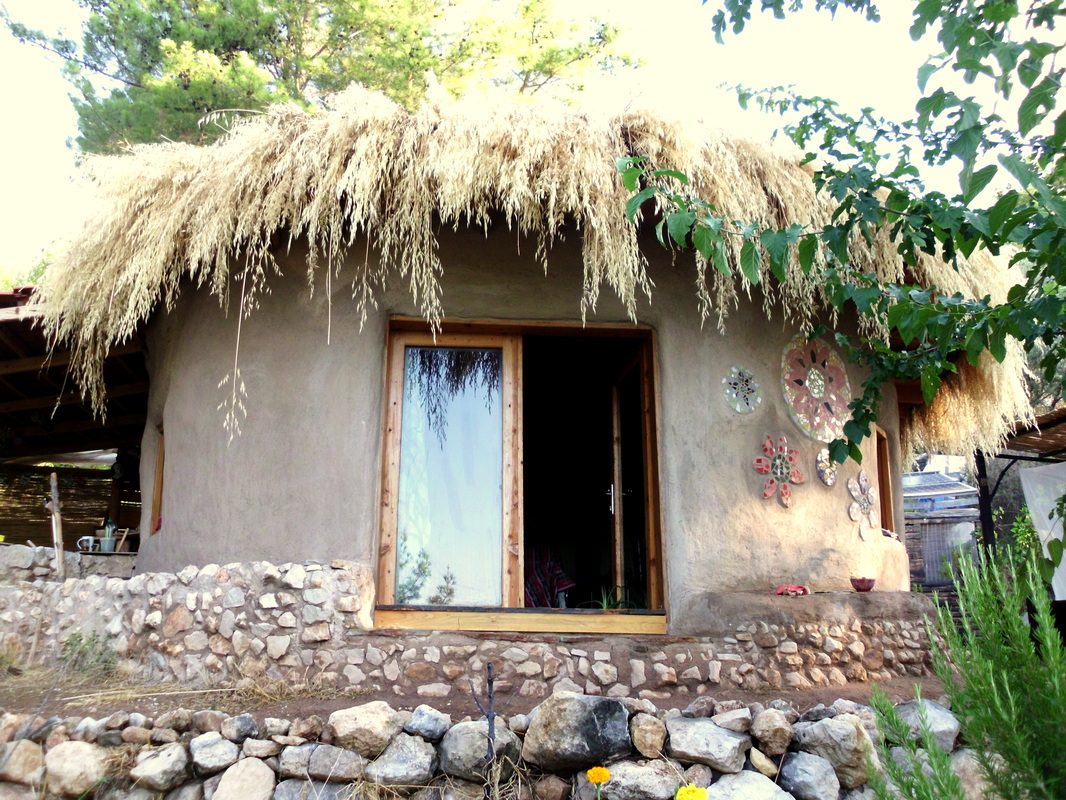
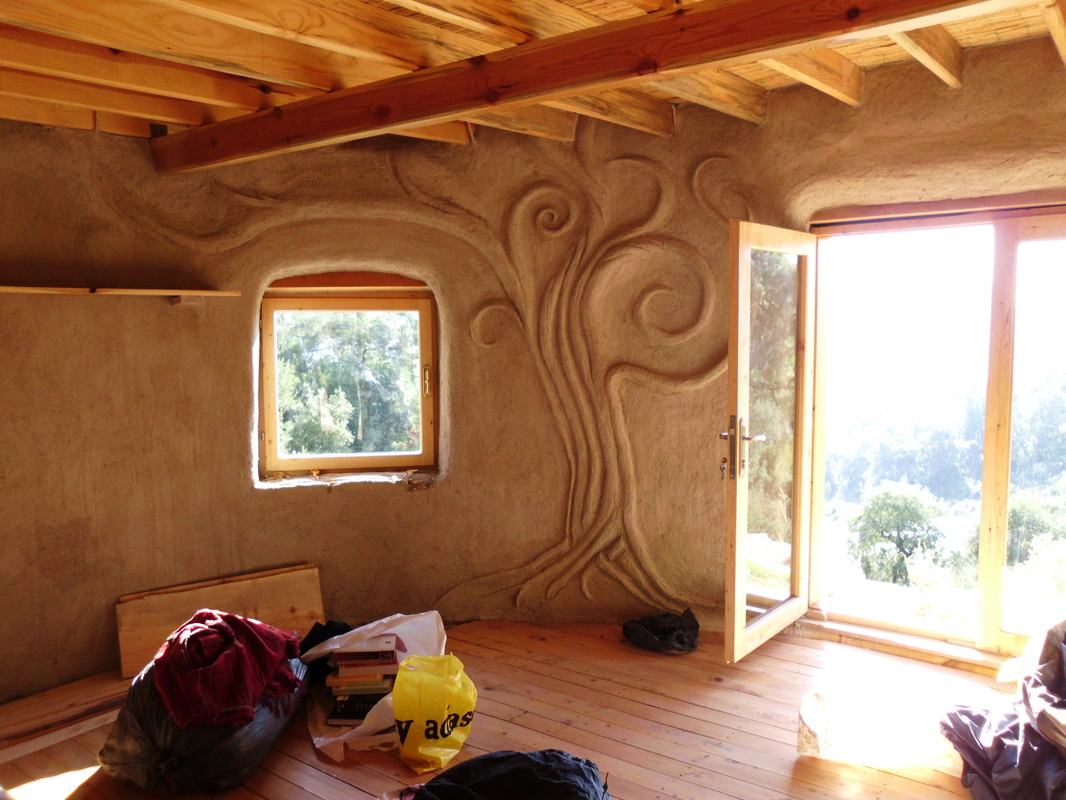
My Earthbag House
My house took six weeks to build and cost about $5000 to make. Nearly all that money went on labour, the roof rafters and my beautiful juniper floorboards. |
I didn't even know what a joist was when I started this project, so if I can do it, anyone can. You don't need prior knowledge. You can learn the skills. But you do need determination, and some decent friends won't go amiss either.
It took 6 weeks to build this earthbag home and cost around $5000. There was no power or running water on the land. |
|
|
|
The True Story
If you'd like the dirt on what happened during those six frantic weeks while I tried to get my house up, it's all in Mud Ball.
|
The FREE Earthbag PDF
For the nuts and bolts of earthbag building, sign up for the free PDF.
20 pages of information and photos.
|
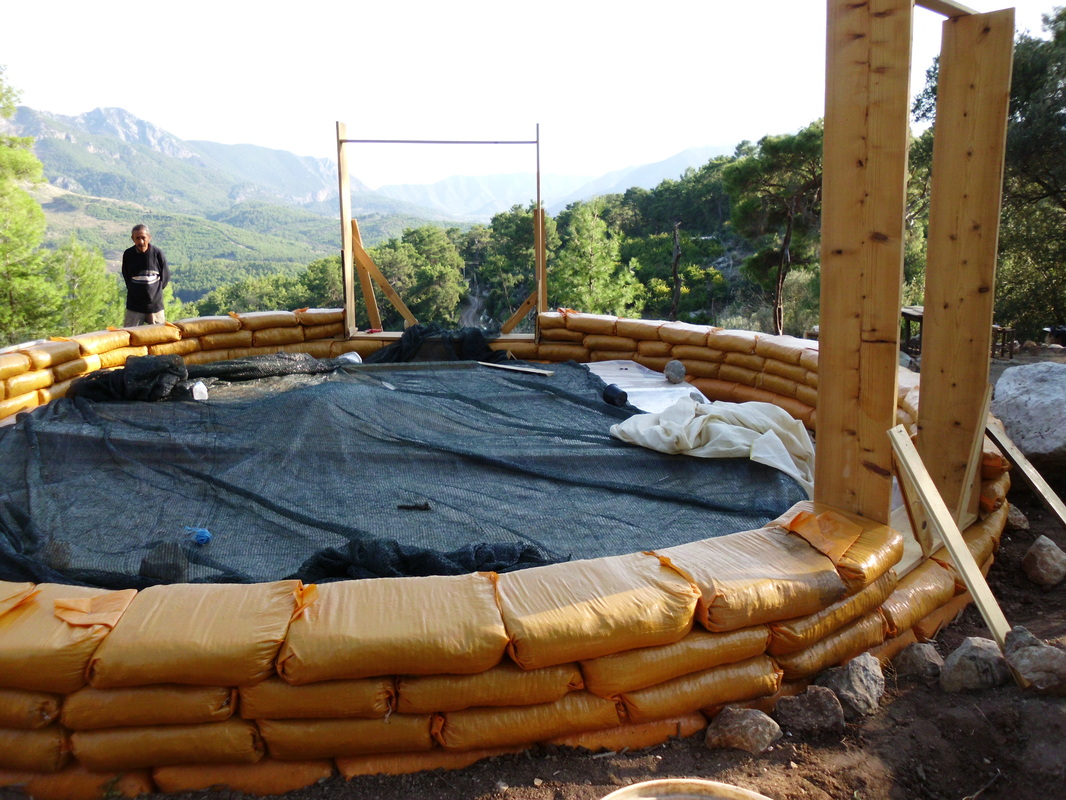
KEEP IT SMALL. Everyone says the same and it's true. You can always add rooms later. Even a small structure can be exhausting.
Mine was just a one room circle of radius 3m and I'm very glad I didn't try anything bigger. Earthbag is PERFECT for:
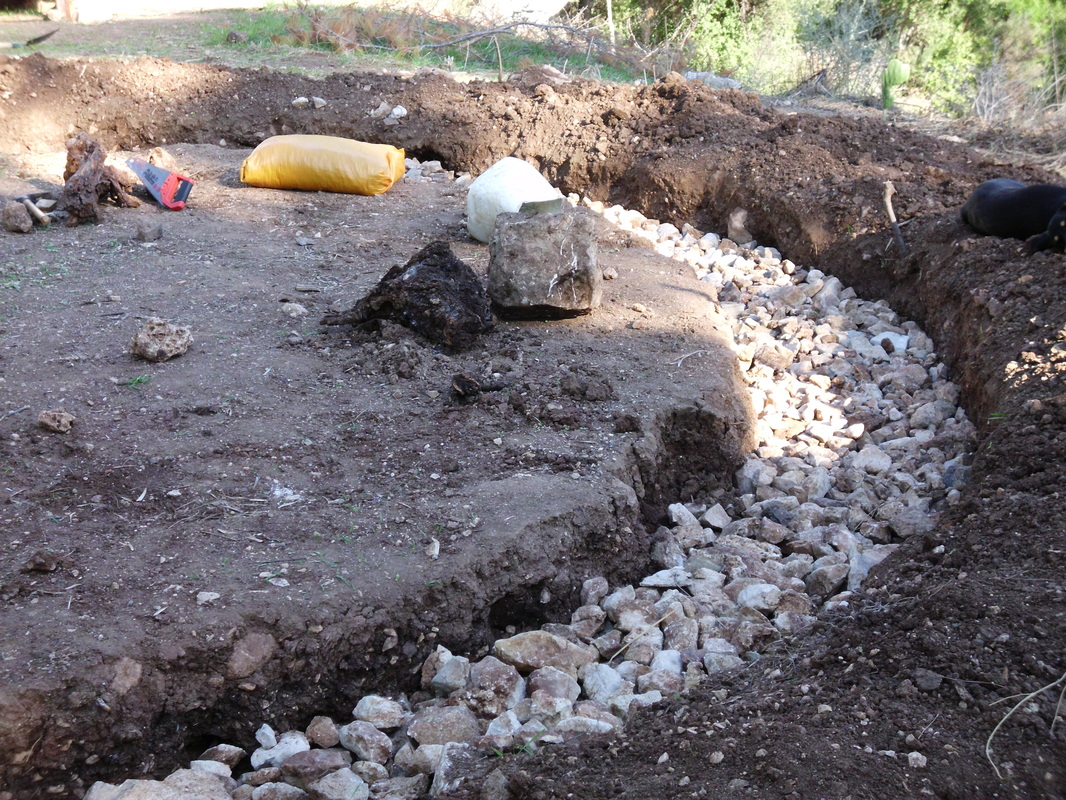
Rubble trench.
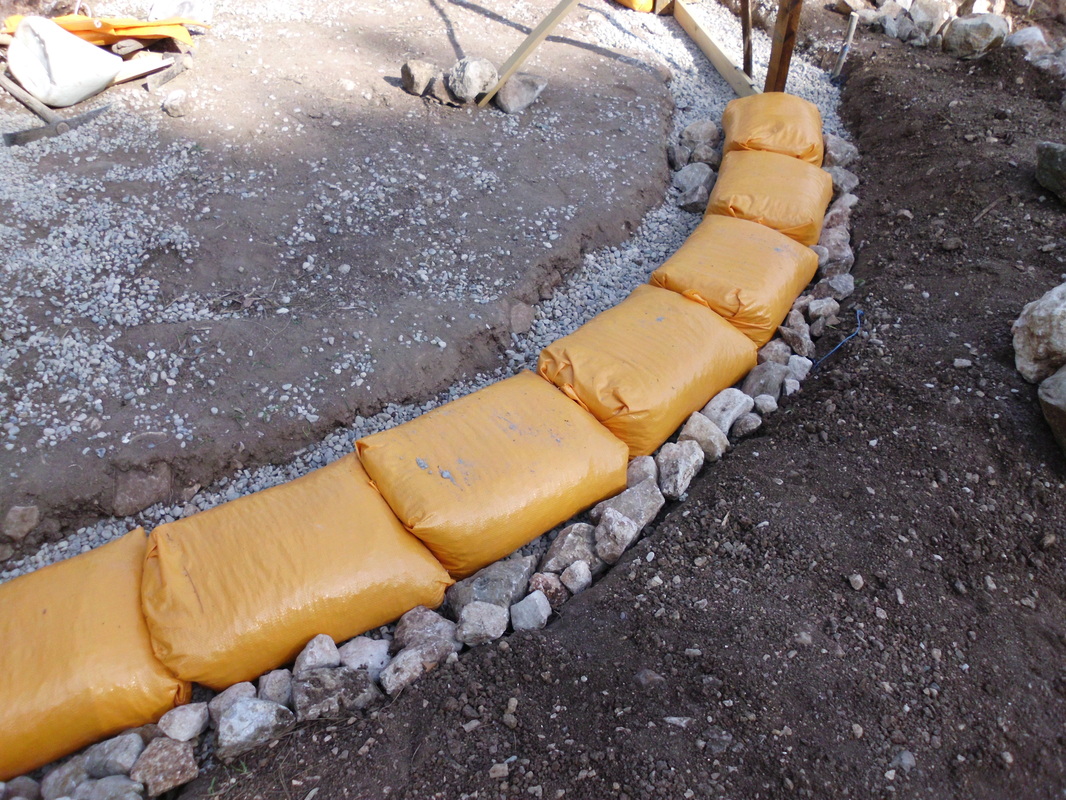
First layer of gravel-filled bags.
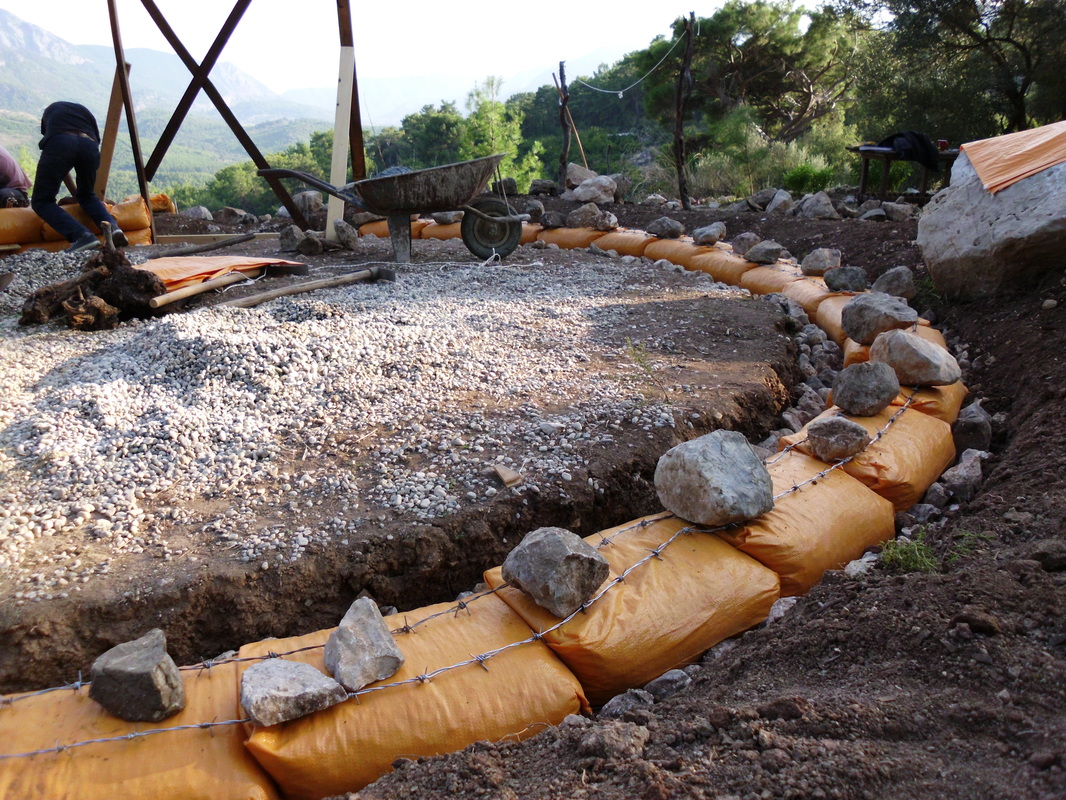
Barbed-wire between each layer of bags.

Please consider supporting the Mud Home on Patreon. BENEFITS FOR PATRONS INCLUDE: Email priority, private Facebook group, live calls, review copies of my books, sneak previews of courses and books, Q & As, priority for courses, volunteer places, and workshop hosting.
|
Step 1. Designing your Earthbag Home.
First decide. Is earthbag for you? Because it's not for everybody or every climate. If you don't actually have any earth on your land then that means you'll have to transport it in. Aside from the practical implications of that, it also detracts from the ecological benefits. Earthbag is similar to cob, in that it uses a type of rammed earth. The difference is, the earth cures after the house is built.
Many people have asked me, "Why use the bags?" The earthbag system was invented by an Iranian, Nader Khalili, as sustainable, affordable and earthquake-proof housing. The bags combined with barbed wire give the house incredible strength compared with other types of eco-building. Compare earthbag, cob and strawbaleAdvantages over Cob
Disadvantages compared to cob
Advantages over Strawbale
Disadvantages compared to Strawbale
ShapeRound
Earthbag is IDEAL for roundhouses. If you're in a seismic area like most of Turkey, then round is the way to go. Round is not only aesthetic and soothing to the spirit. Circles are the strongest structures you can build. Cars have been known to hit earthbag roundhouses with no more than plaster damage. Mine has survived four earthquakes over 6 and is in exactly the same condition it was when I built it. Corners If you're dead-set on corners then you need to plan buttresses for them. Straight walls are weaker than round ones. See the earthbag building blog for more details. You can also have a post and beam structure and 'fill in the gaps' with earthbags. It's not as strong but building laws in some countries approve them that way. Plans I didn't make a single drawing before I started and adjusted the design as I went along. It worked:) But there are some advantages to pre-planning, especially for shelves, alcoves, tables or seats for roundhouses, electric and water fittings etc. If you're the planning type, take a look at Geiger's dream homes site. Step 2 - FoundationsNo one believed a gravel foundation system would work. But if you live in an area that experiences a lot of rainfall nothing beats it.
See Gravel Foundations for details. This house's foundation system was documented in detail in the Natural Building Blog. See article. Let me take you back to the beginning . . .
"Why would anyone move into a tent and live on a mountain for eight months? A mountain with no power, no water, and no permanent shelter to speak of. Something has to have gone wrong. The trouble all began with a dream, and in many ways it ended with one too. Only it was a dream I had never planned. One I hadn't expected at all . . ." |
Tamping is key. It's also hard work.
Fat lintels are easier than arches.
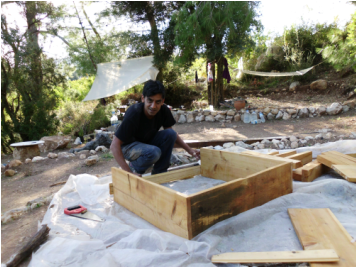
Adnan looking far too happy at the beginning of the window debacle.
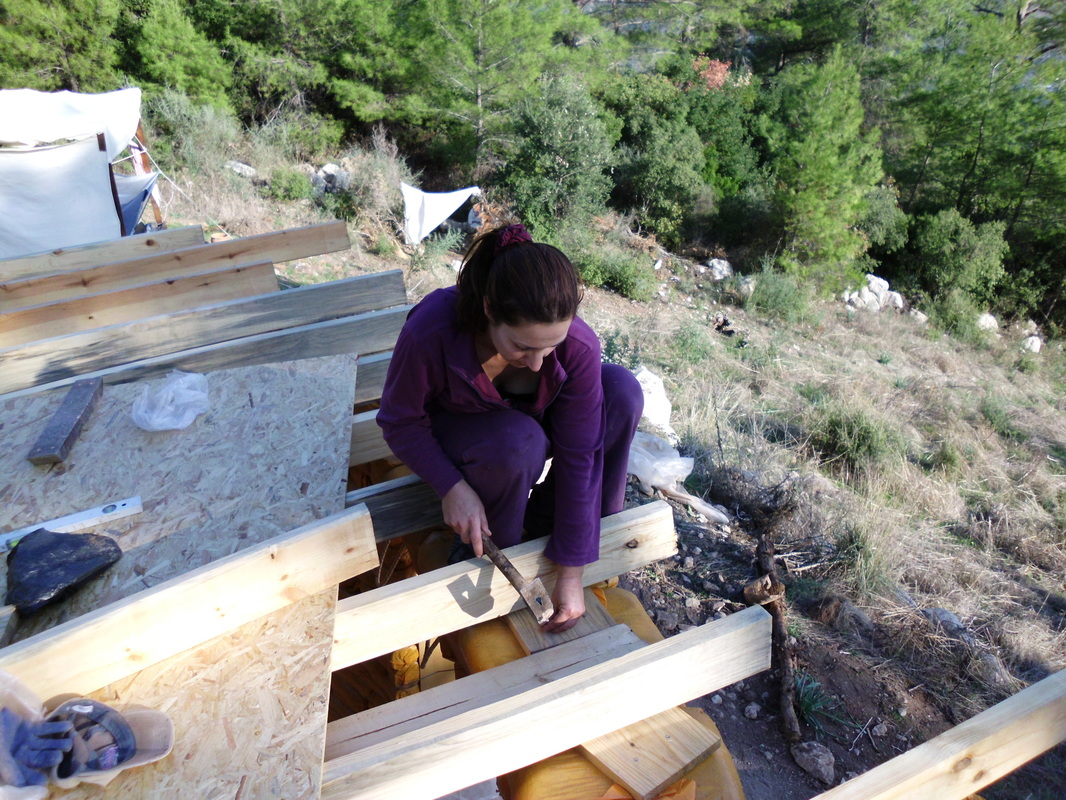
Joists laid on thick slats to prevent them sinking.
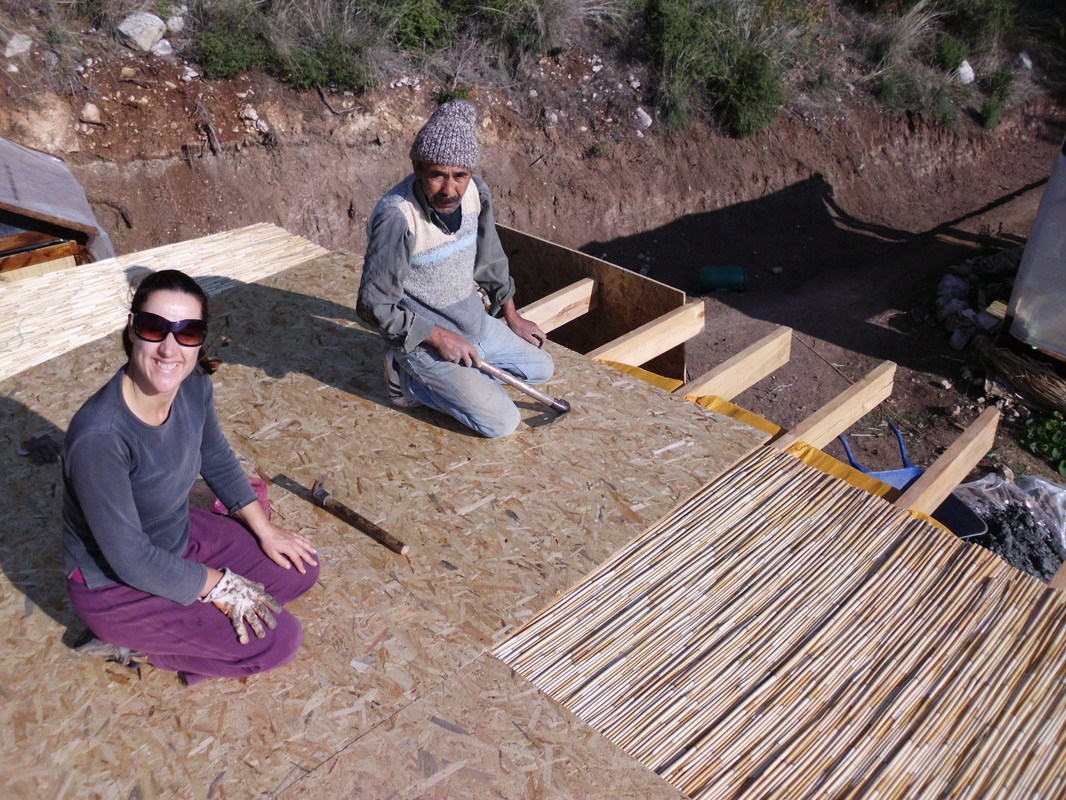
Celal and I getting the plywood down.
If at first you don't succeed . . .

|
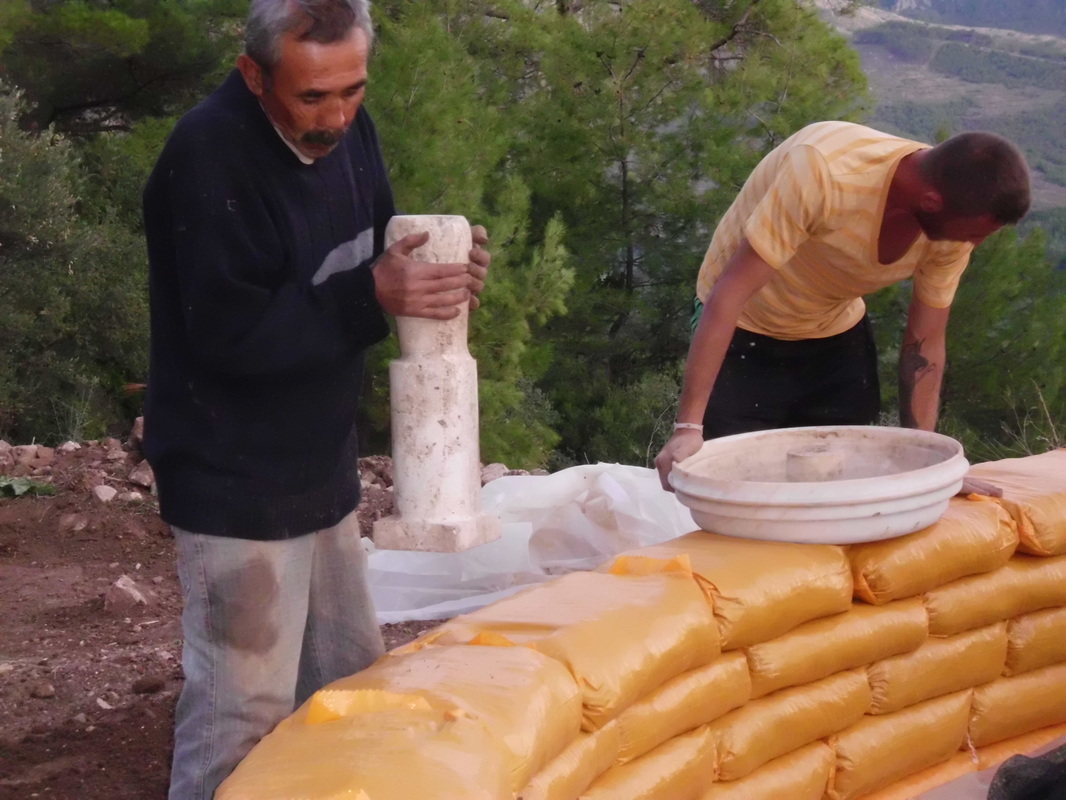
Step 3 - Walls1. Try to keep your walls straight (easier said than done on a round house). Use a plumb-line to check.
2. First of all, take an earthbag and fold the corners in. 3. Fill it with a specified amount of damp/slightly wet earth. 4. The first bag in the circle needs to be nailed shut. The second bag is laid up against the first so that the two openings are facing each other. The first bag holds the second shut. 5. Keep laying bags until you finish a circle. 6. When the circle is complete, take something heavy and flat and tamp the entire layer until the soil is nicely compacted and the bags snug. Tamping is key, it's also damn hard work. Step 4 - Windows and DoorsMy windows were a disaster from start to finish, which is why I didn't put up photos. One thing I can say is, however badly you mess up, there's always a solution.
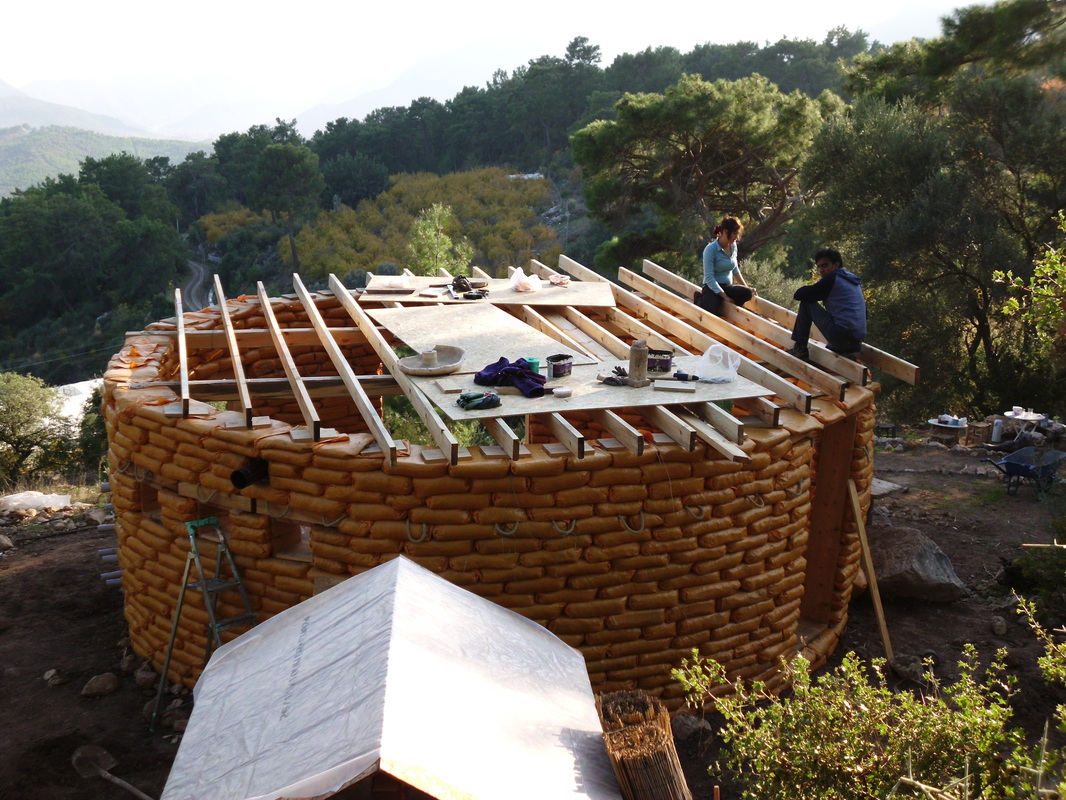
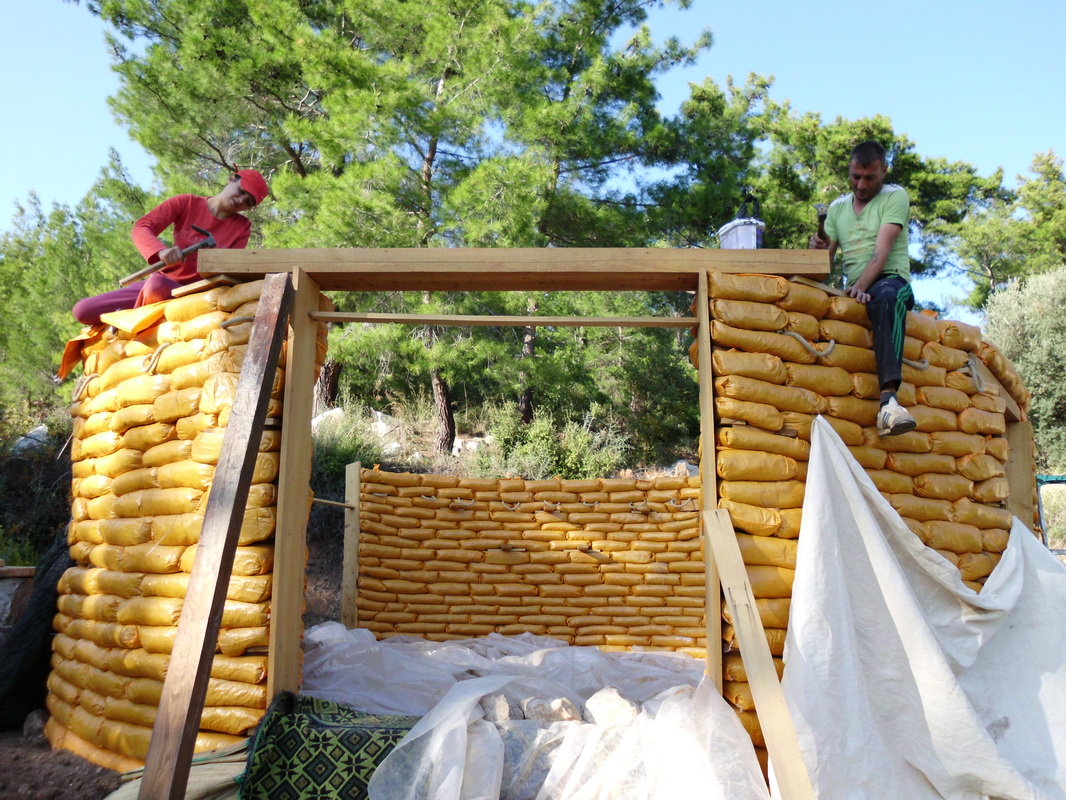
1. Making molds is the best way to ensure your windows stay in shape. Bear in mind that as you tamp your bags, they are rammed up hard against frames, and will bend or warp them unless the frame is incredibly thick. 2. Molds can be made from scrap wood if its lying about. The only trouble with the molds is, they are devils to get out. You can also use straw-bales, barrels or drums, wagon wheels and tires. 3. You can make beautiful arched windows with earthbags that are super-strong. 4. Inserting wooden anchors between layers of bags is a useful way of creating somewhere to bang your window frames in once the walls are finished. 5. If your windows or door frames are not arched, you need nice fat lintels instead. This is definitely easier, but uses more timber. For more information on windows and doors. I suggest the "Earthbag Building: Tools, Tricks and Techniques" by Kaki Hunter and Donald Kiffmeyer. Step 5 - The RoofIf it's a roundhouse then there are some nice options for roofs.
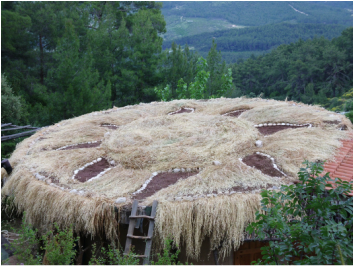
1. You could try a reciprocal roof. 2. Or an earth (living) roof. 3. We laid two fat (10x20cm) beams across the roof and laid 5x15cm joists at 40cm intervals over them. To prevent the ends of the joists sinking into the bags we laid them over wood slats (2x25x40cm) 4. When you lay earthbags over these slats to fill in the gaps, the roof becomes mighty secure. 5. If you are really paranoid, or suffer tornadoes, you can tie or cinch the joists down as well. Step 6 - PlasterIt took us just 6 weeks to get the entire house up. But over a year to plaster it! Earth plasters are an acquired skill and you'll need to practice a fair bit to get the mix right.
Read all about the ins and outs of earthplaster HERE. Or simply sign up for my earth plaster mini course instead. That will set you off on the right foot. |
This is a brief guide to earthbag. If you'd like more details and more photos then sign up for the earthbag building PDF below.