how i built my earthbag house
I love earthbag. It's easy for novices, ridiculously strong, and inexpensive. My detailed, illustrated PDF, and free email course, will give you the whole story.
Step 1. Roofing felt.
Step 2. Plastic layers.
If you haven't made good enough drainage you're going to be on that roof in the pouring rain, carving out a channel.
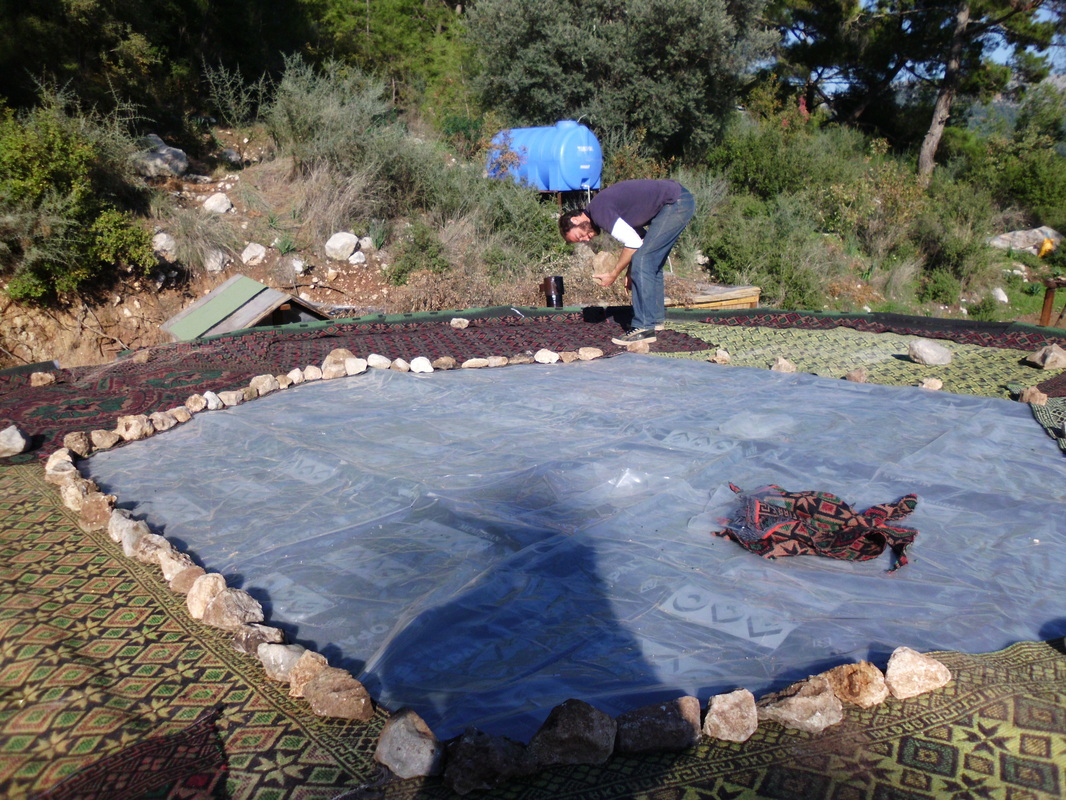
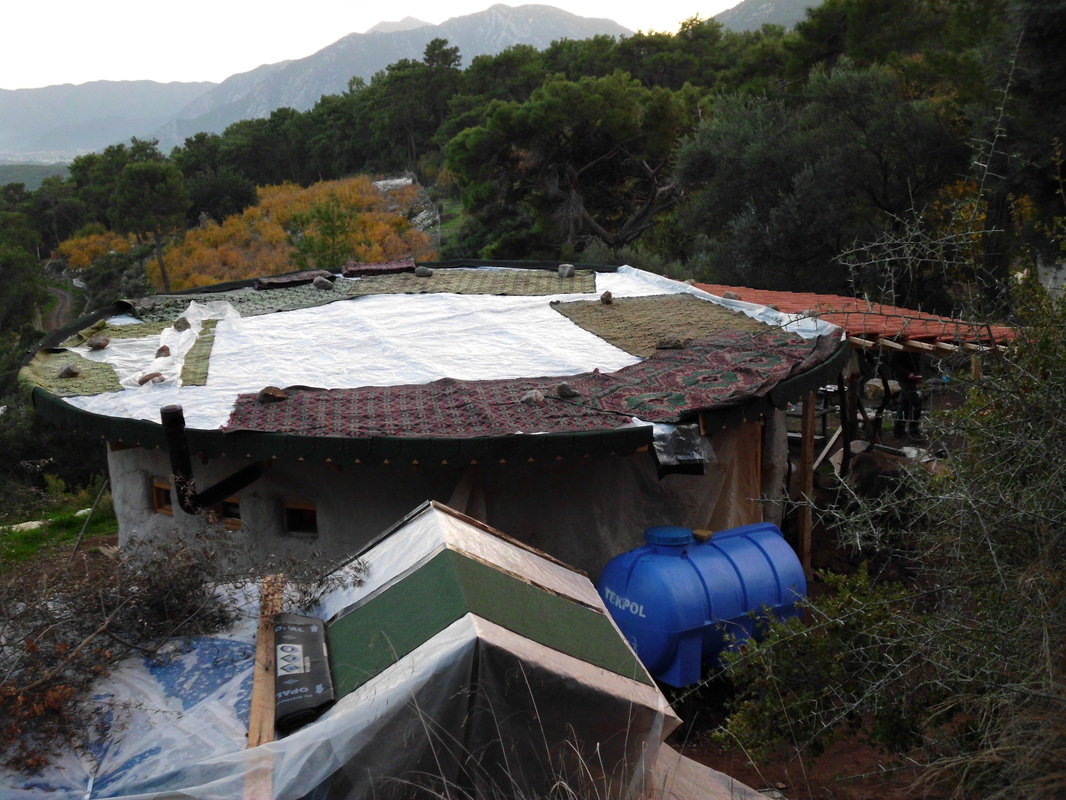
Step 3. Carpets.
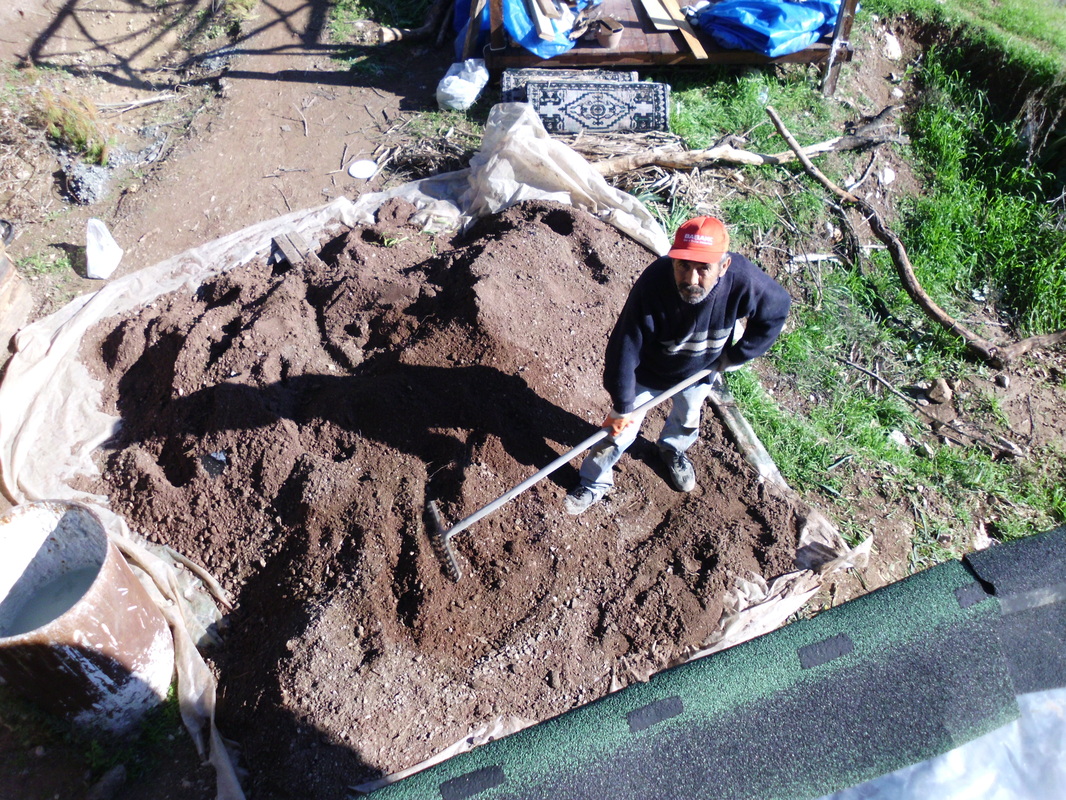
Celal as earth digger.
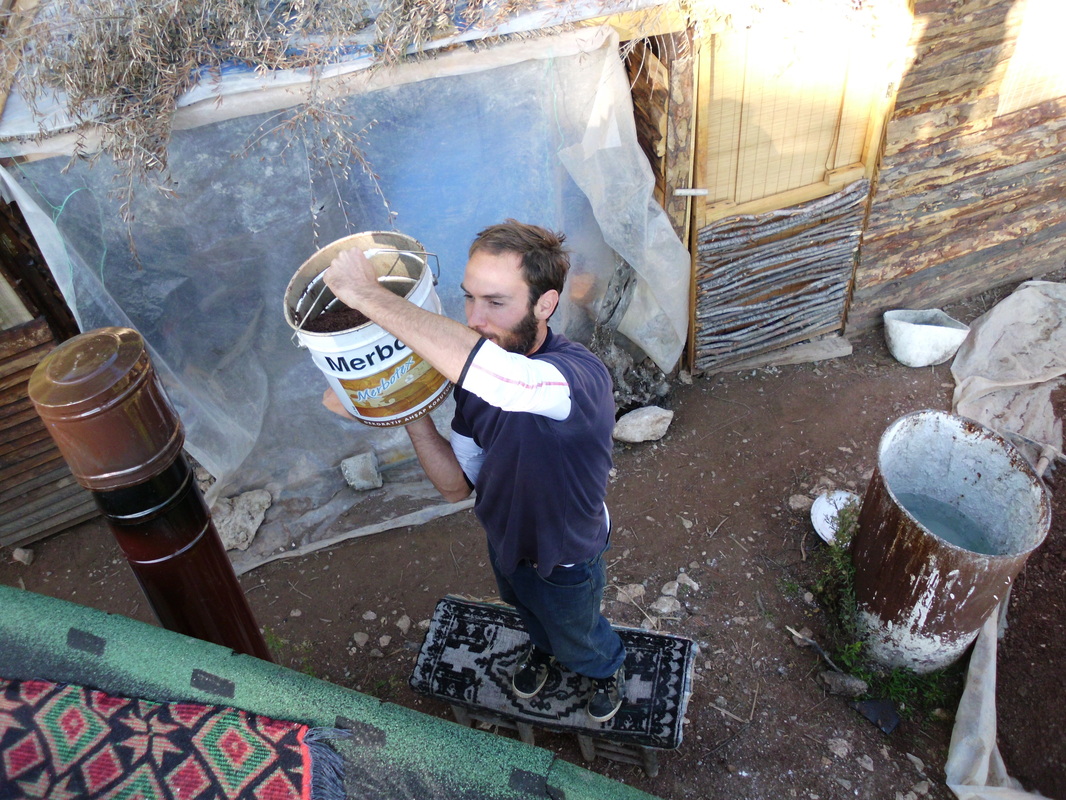
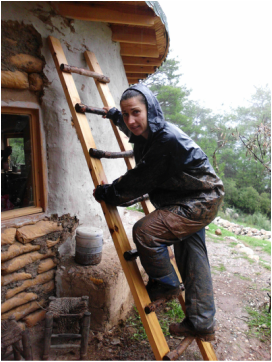
Kieran is chief lifter.
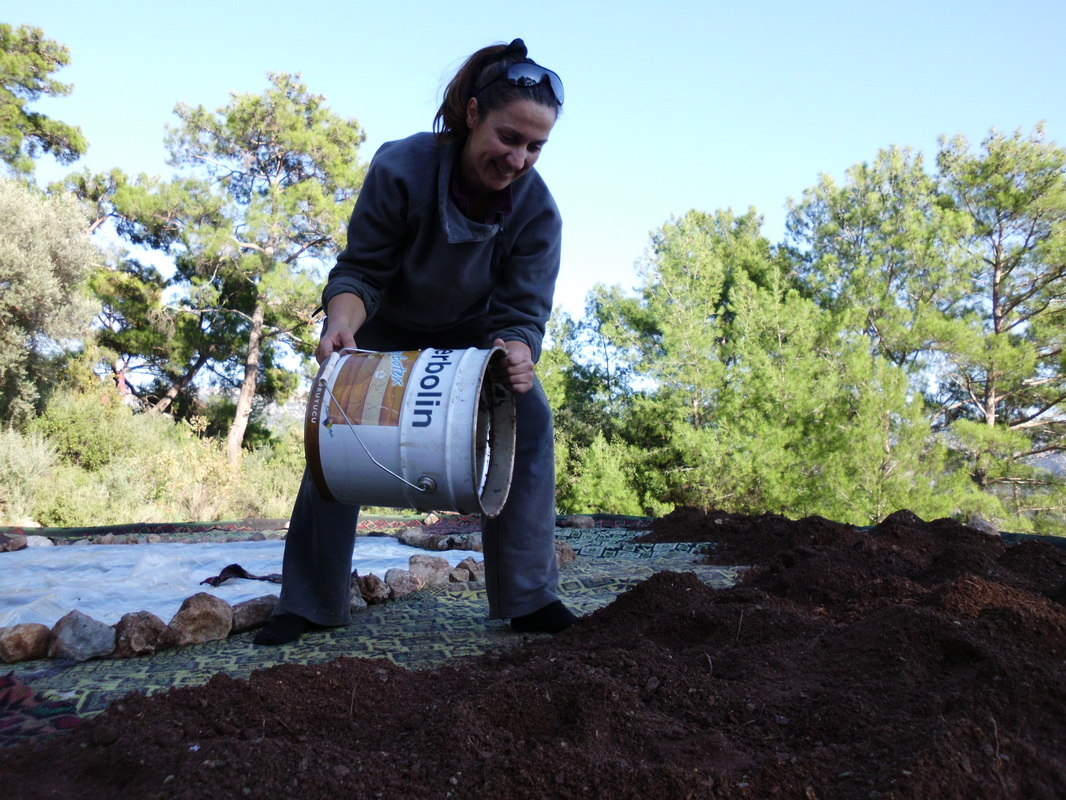
Me depositing earth.
|
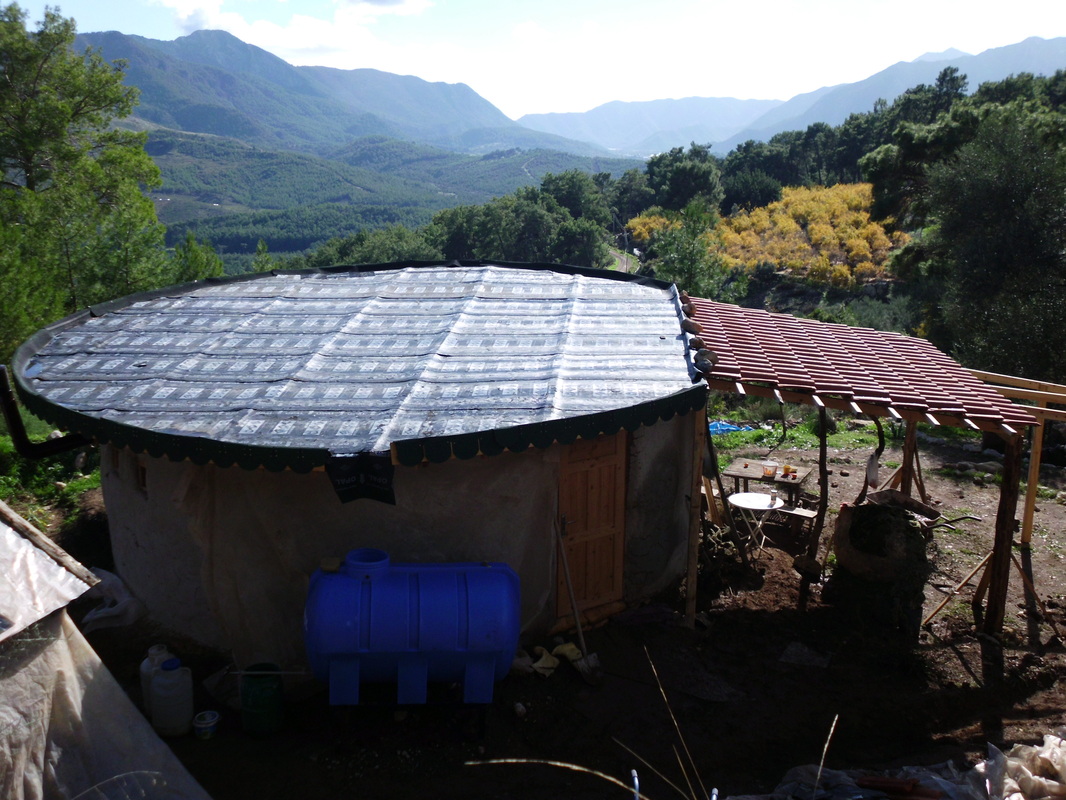
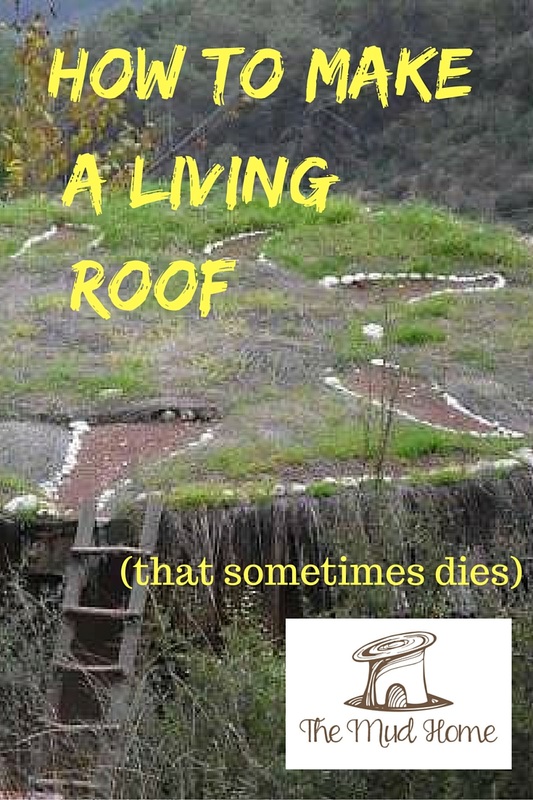
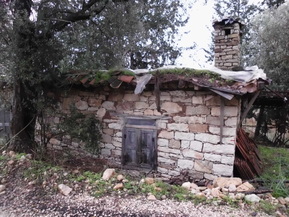
Making a Living Roof (that sometimes dies)When you tell most builders you're about to embark on an earth - or living - roof, you can expect a narrowing of eyes and some ferocious quizzing on the size of your rafters. Not without good reason. Living roofs are incredibly heavy. Add a good slosh of rainwater to the mix and you're suddenly looking at the equivalent of an elephant sitting on your roof.
But apart from the weight issue there are so many advantages to a living roof. They offer;
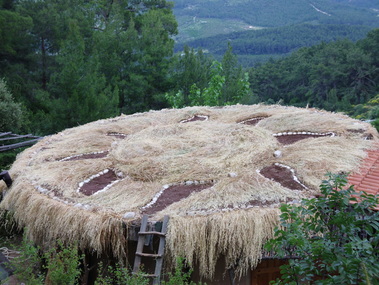
There are many different kinds of living roof. Even if you have a wide span roof (like mine) there are a few ways to get around the weight problem. It all rests on good drainage, and where exactly you put that earth. Intensive and Extensive
 An intensive earth roof, Turkey.
The 2 main types of earth roof are Intensive and Extensive.
Intensive roofs are heavy, fat devils with soil more than 4 inches thick. You can grow pretty much anything on there, from grass to bushes and even small trees.They are easy to maintain once constructed. Obviously, for this kind of roof you need to be damn sure of your rafters. Extensive roofs are thinner and easier to make, but need more maintenance (ie. watering). They can be anywhere from 1-4 inches thick and support only certain types of plant. More details on earth roofs in this in this great article from the Huffington Post. How to make a living roof. Mine is an extensive living roof on a house with a wide (7m) span 1. Make sure your roof can handle the weight. In my case because the span is wide and the walls of my house (earthbag) incredibly strong, I chose to leave a space in the centre of the roof. This way the load is mostly carried by the walls. 2. Lay roofing membrane (mine is 4mm thick) as your main waterproofing element. 3. Add a couple of layers of polytunnel plastic to prevent roots and seeds burrowing into the membrane (We found pine seeds buried into the membrane after only 2 months!). 4. You need a drainage layer. Small stones, pumice or shingle would do the job here. As mine has quite a tilt and only 5 cm earth on the edges, we ditched the drainage layer. I would note here that I paid for this error a couple of days later... I ended up carving a channel out in the rain. It works. But a drainage layer is the way to go. 5. Now a soil barrier. We used thin woven carpets which are cheap here, but you could also use blankets. This is for the roots to take hold in, and stops the soil clogging up the drainage layer. 6. Next shovel on the earth. We had a three-step system.
7. As soon as it rains, check the water is draining off the roof. If it's not you've got a potential lake on your roof. This is exactly what happened to me, thus I was to be found shovelling off earth in the pouring rain to make a temporary outflow channel. In my case the drainage was only necessary at the back of the roof. 8. Plant. I put in some succulents, crawlers, cactus and other plants with small or no root systems. That wasn't such a good idea... My semi-dead roof. I made my roof back in 2012. How happy I was when I planted my flowers and succulents. Three months later, I had lost my smile, and so had my roof. There is no rain for five months of the year where I live, and of course the top of a roof is blazing hot. Everything died. So I came up with another plan; the semi-dead roof. In summer I cover the soil in dry grass cut from my garden. I have learned it’s easy to shape the straw by spraying water over it. The straw adds insulation from the furnace-like heat. When winter comes, the dry grass rots and seeds, creating a lovely green roof. The fresh green growth prevents the earth from eroding in the heavy rain, too. PICK UP MY FREE EARTHBAG GUIDE
I've made a step by step PDF of how I built my earthbag mud home. If you'd like it, just sign up. You will also get a series of earthbag and natural building emails.
I'D LIKE THE EARTHBAG BUILDING PDF |
|
|
The Mud Home takes many hours a week to run, and costs a lot to sustain. If you find this site useful or inspiring, please consider supporting it so that it can continue.

Many thanks to all those who've already become Mud Sustainers.
|