Want to learn earthen plaster?
|
When you learn how to create gorgeous clay plasters from the earth around you, you begin an amazing journey into natural building.
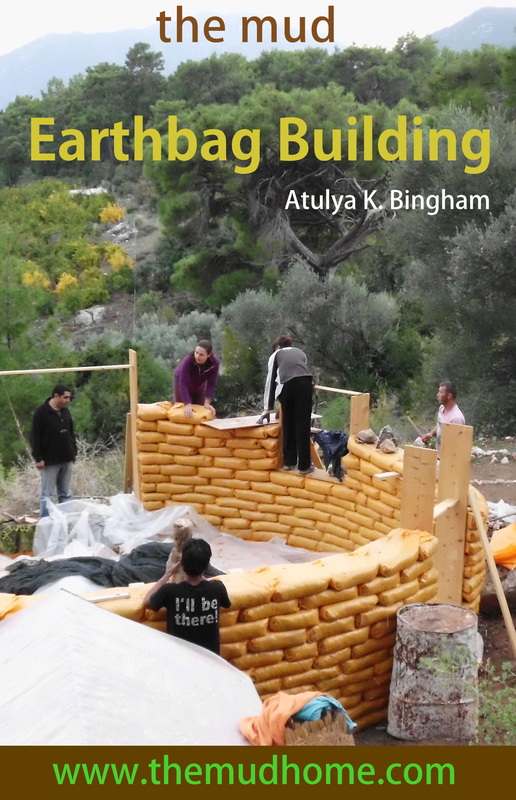
How to fill and lay earthbags conventionallyNormally, earthbags are filled with damp earth. The earth should have about 20-25% clay in it. If you are using bags rather than tubes, then you first fill the bottom of the bag and squash the damp dirt into the base and corners to create a nice square bottom. After that you fill the rest of the bag, and lay it on your wall. When all the bags in the row are laid, you tamp the entire layer with something heavy and flat. Tamping is key. It squashes the clayey dirt into a compacted, immovable layer. Eventually, when the house dries, that dirt becomes a solid clay brick. 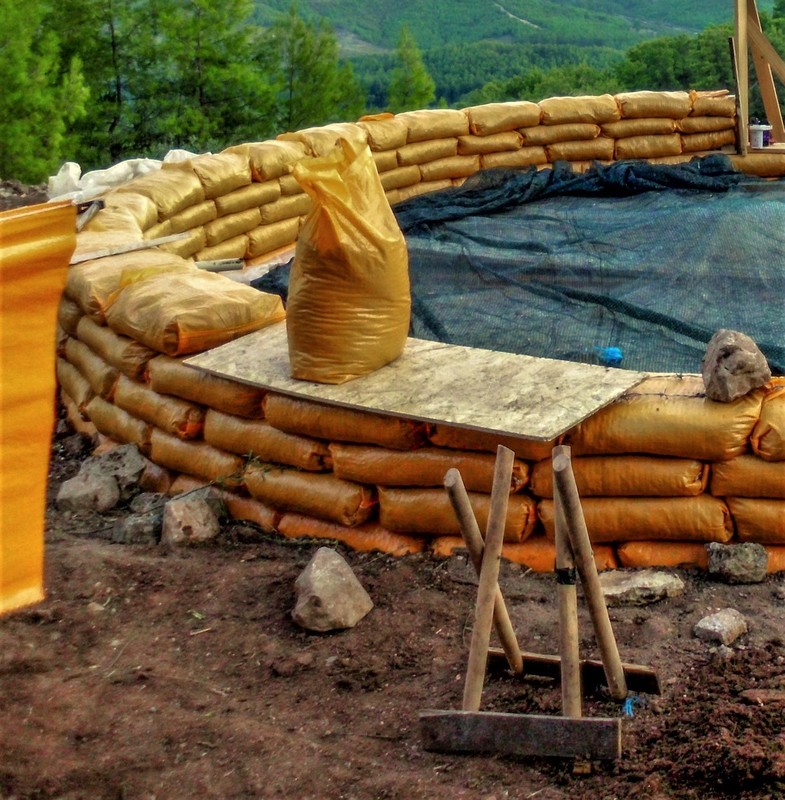 The conventional way to fill earthbags is with damp, clayey dirt. The issue with handling damp earthAll of the above is pretty time consuming, and dragging bags full of damp dirt around is hard work. Under normal circumstances, and to prevent a hernia, once the wall gets higher you begin filling the bags on the wall itself. Again, this is pretty slow going, and can drive impatient types like me mad. 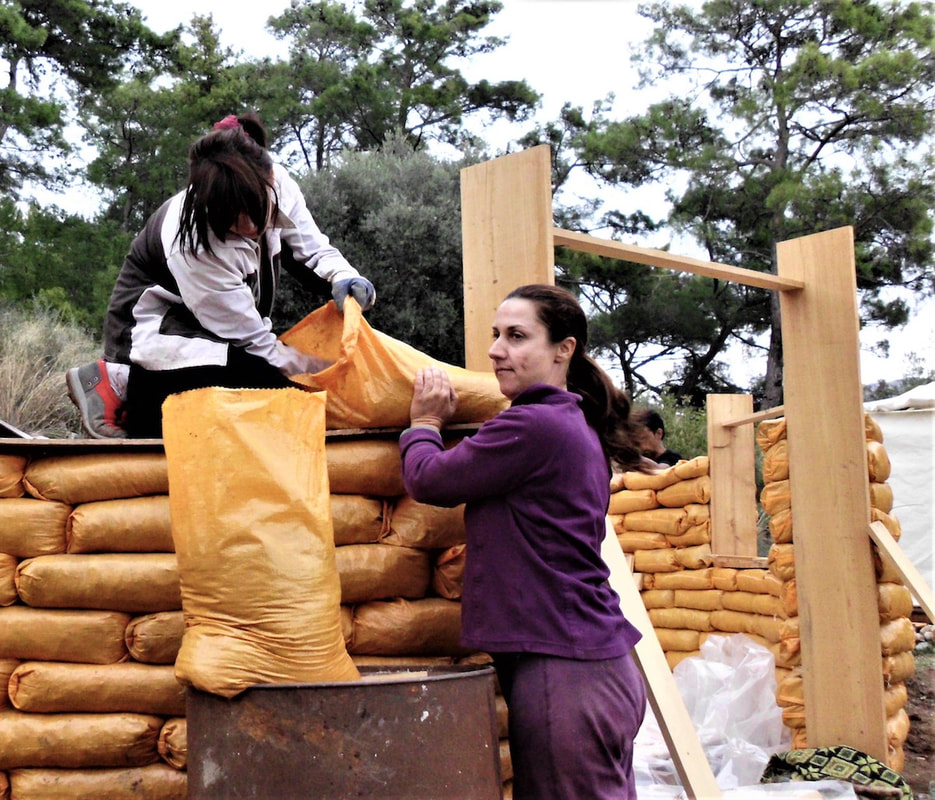 Filling the bags on the wall. Is there another way? I say, there’s always another way. :) Last year in my earthbag workshop in Turkey, we stumbled upon a brand new technique, altogether by accident, and it changed our earthbag world. You know how it is; someone makes a mistake, and it ends up being the best thing that happened. The mistake was that a few volunteers threw a row of earthbags onto the wall without dampening the earth first. As I went round and prodded the bags, I could feel they were bone dry. Just a bunch of loose aggregate. You can read why you don’t want loose aggregate here. Now...there is a common misconception that the polypropylene bags usually used for earthbagging aren’t breathable. This isn’t correct. They are definitely breathable and permeable. If they weren’t, your dirt wall would never dry out properly. So, knowing this, I decided to try and wet the bags on the wall (well, actually I decided someone else would wet the bags, but you know what I mean). A kind helper grabbed a hose and gave the dry layer of bags a really good soaking. Then he grabbed the tamper and tamped the lot down. When I checked the bags, they were as good as the rest. The bags had absorbed the water, and the tamping had distributed the water evenly through the earthbag. 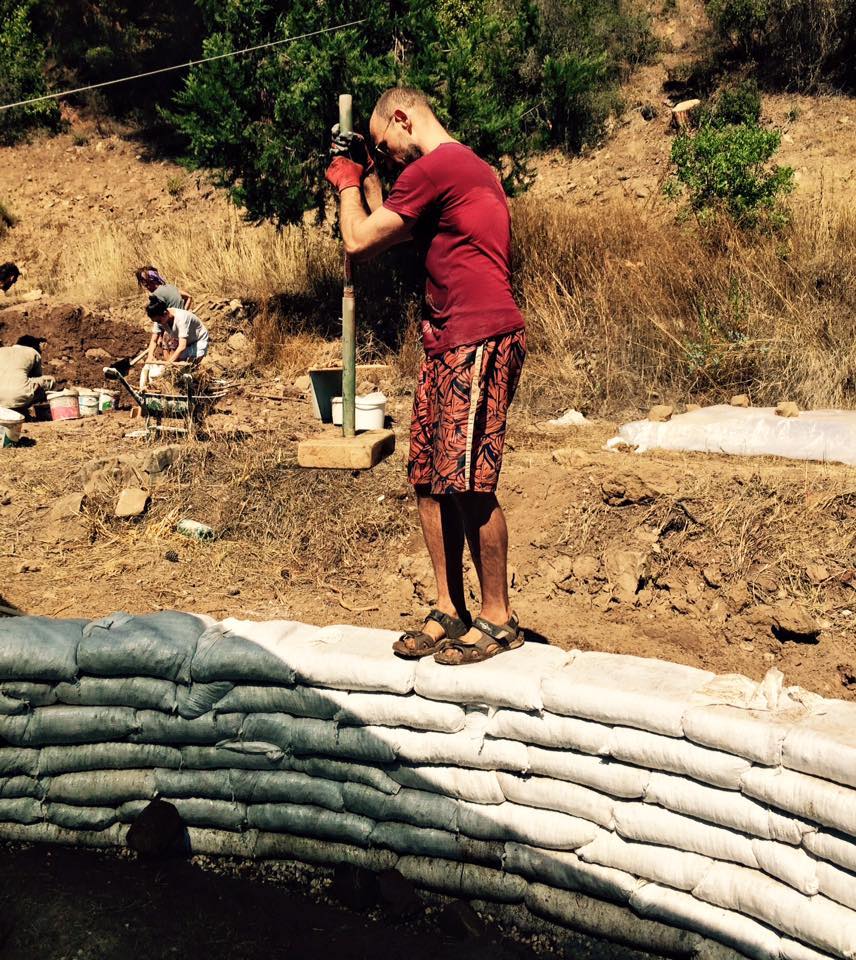 We hosed the bags down and then tamped them. What’s the advantage of this?The advantage of wetting the bags on the wall is that you don’t have to cart all that damp earth about, nor do you have to dampen the earth on the ground and mix it in (which is a bit of a bind in itself). It is a lot lot easier to work with the loose dirt, and easier to fill the sacks, too. Step-by-step how to lay earthbags using the new technique:1. Make sure your clay is distributed evenly into your dirt. 2. Fill your earthbags with dry soil. 3. Lay them on the wall. 4. Take a hose and give the whole layer a thorough wetting. Make sure all the bags are well dampened. 5. If you’re using individual bags, go around and check the corners of the bags are nice and tight, and not sticking out. Reshape and regusset them where necessary. 6. Tamp the whole layer. Note: This technique only works by dampening one layer of bags at a time. Don’t throw a whole house up and then think you can squirt a hose on it. It won’t work. 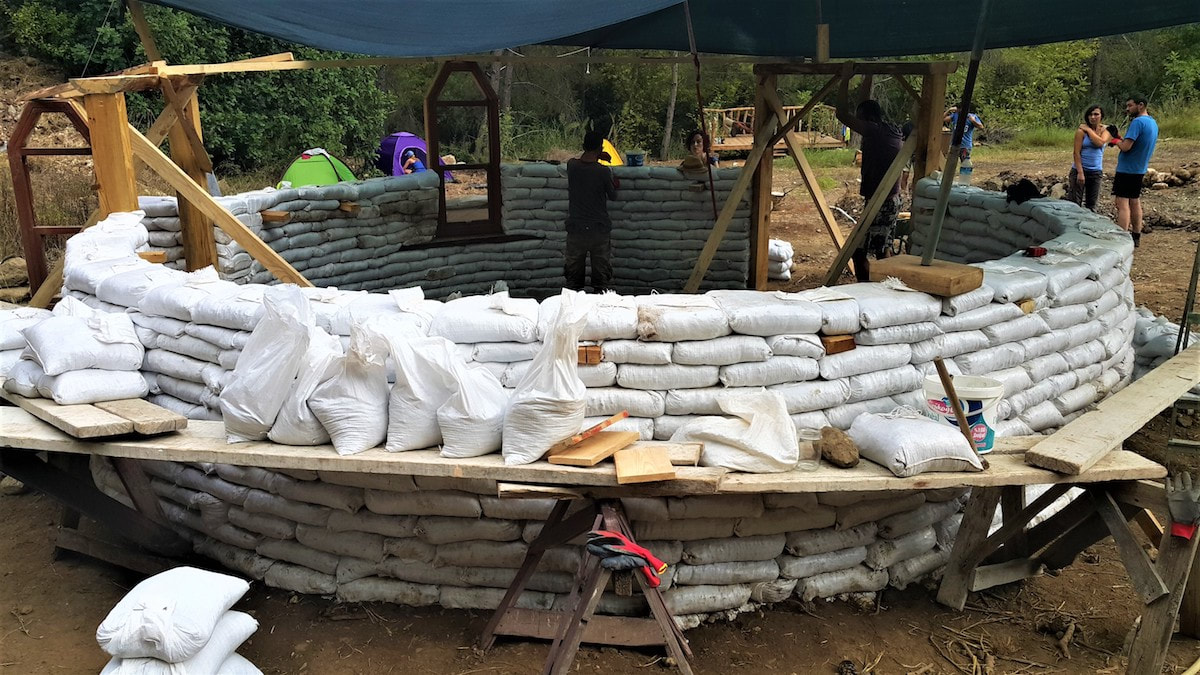 Dry dirt bags (full and half) waiting to go on the wall. Do you enjoy The Mud Home?
If you find these articles inspiring or useful please consider joining us on Patreon. Your support pays for the running of this website, my virtual help, and my sustenance. A big thank you to all The Mud Sustainers, and everyone chipping in and keeping these posts and articles coming.
8 Comments
16/2/2018 02:30:30 pm
Dear Madam,
Atulya
16/2/2018 08:48:47 pm
Yes earthbag retaining walls should be able to withstand flooding as long as they are well buttressed and (as with all retaining walls) incorporate sufficient drainage so that flood water doesn't back up behind the wall.Take a look at this post by Owen Geiger http://www.naturalbuildingblog.com/massive-earthbag-retaining-walls/
Atulya
19/2/2018 10:01:13 am
:)
Atulya
21/2/2018 12:58:39 pm
Hi Lucie, you should read this post all about bag fillings. http://www.themudhome.com/mudbuilding/what-can-i-put-in-my-earthbags
odingzkee
28/2/2019 03:20:17 am
Hey Atulya,
Atulya
25/9/2019 10:24:05 pm
Ahh! Just saw this. Not dripping wet, but wet enough that when you tamp them you feel the bag become solid. Leave a Reply. |
Many thanks to the Mud Sustainers supporting this site!

Do you find The Mud Home valuable? Please consider supporting the blog on Patreon. For as little as $2 a month (not even a coffee where I'm from), you can join the club.
BENEFITS FOR PATRONS INCLUDE:
Email priority, private Facebook group, review copies of my books, sneak previews of courses and books, Q and As, priority for courses and more. AuthorAtulya K Bingham 
"Beautifully written and inspiring." The Owner Builder Magazine
FREE!
If you want the step by step guide of how I built my house, sign up for the PDF.
WHY NOT? IT'S FREE! Categories
All
All the Mud Home How-to posts have been compiled into a PDF package with 75 articles and over 200 photos. You can still buy it now, and enjoy lifetime access to all the updates.

“Entranced! Be inspired by one who’s lived and breathed dirt.”
Kim Fraser, Get Rugged |

|

|
The Mud Home takes many hours a week to run, and costs a lot to sustain. If you find this site useful or inspiring, please consider supporting it so that it can continue.

Many thanks to all those who've already become Mud Sustainers.
|
 RSS Feed